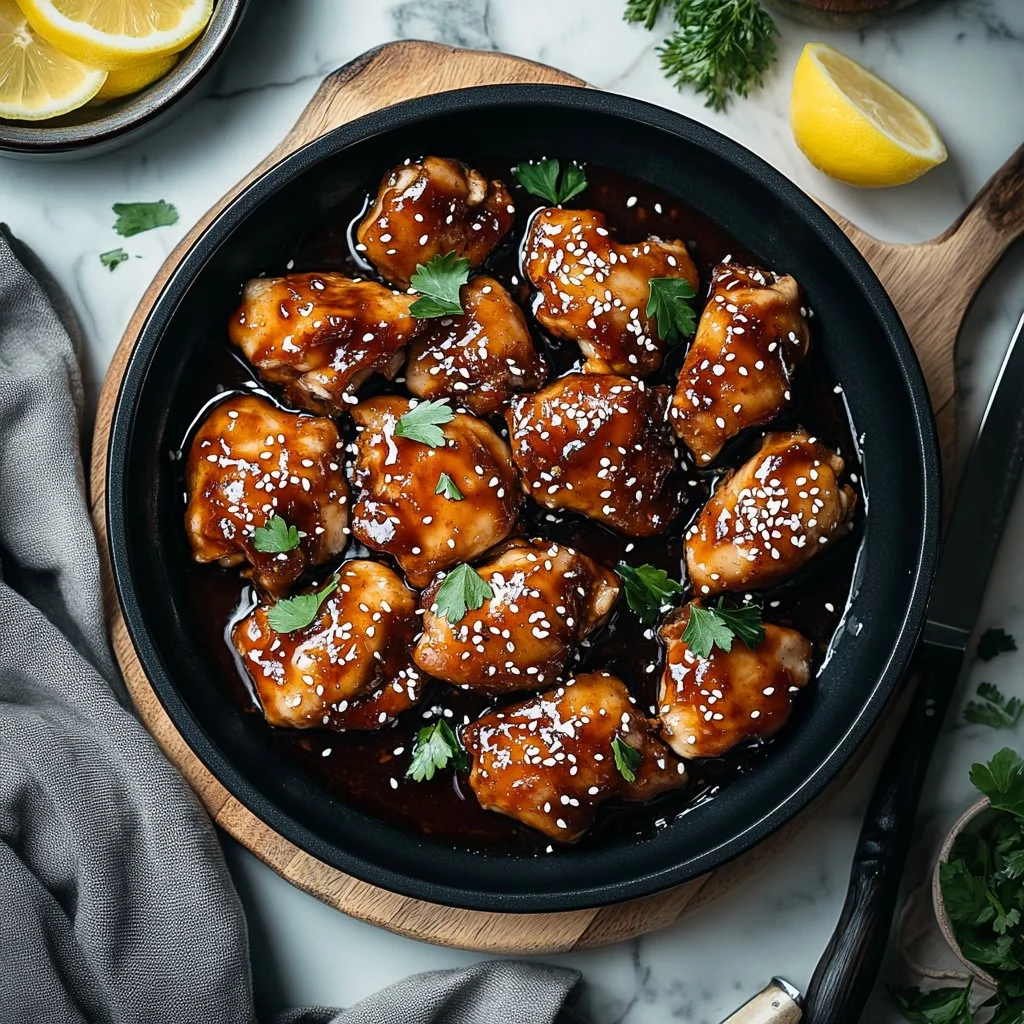
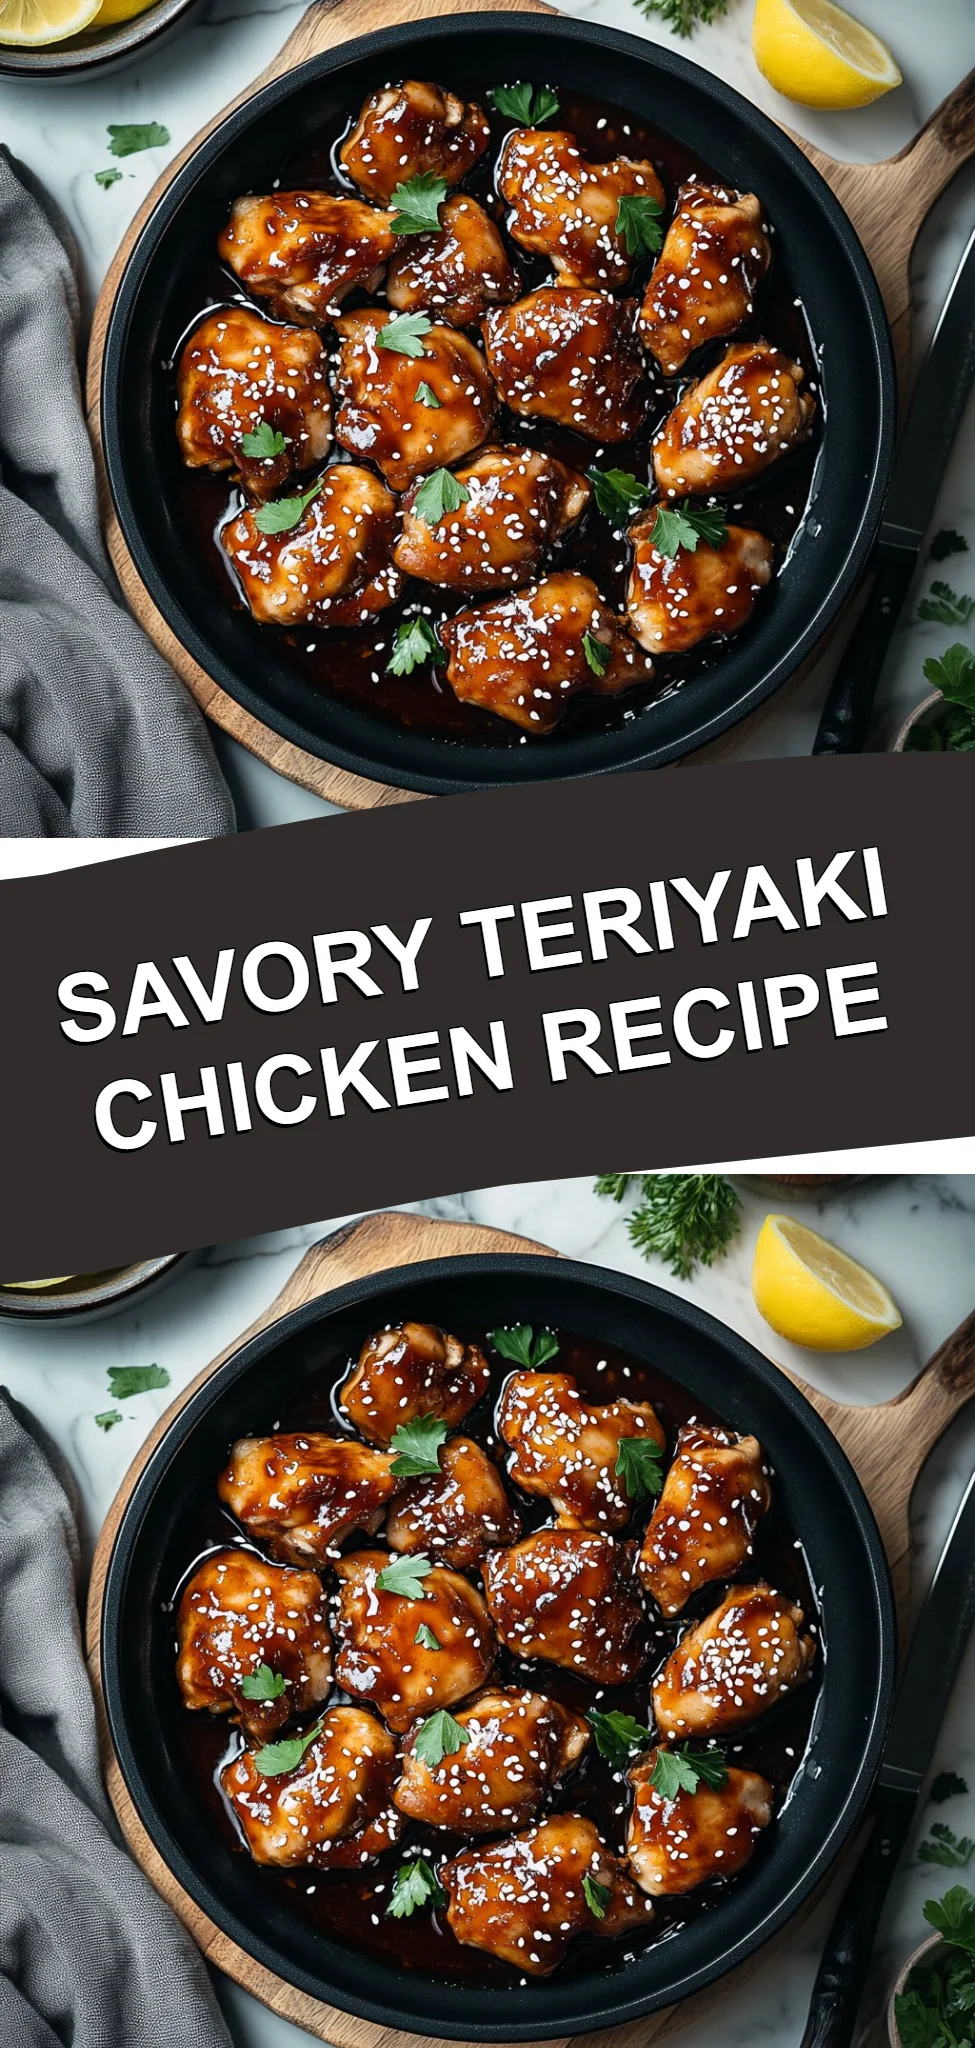
Teriyaki Chicken is a delightful dish that tantalizes your taste buds with its sweet and savory flavor profile, evoking feelings of comfort and nostalgia. This recipe is perfect for those busy weeknights when you crave something delicious but easy to prepare. The tender chicken thighs soak up the rich, homemade teriyaki sauce, creating a mouthwatering meal that the entire family will adore. With step-by-step directions, you’ll find whipping up this irresistible dish to be a breeze!
Ingredients
For this Teriyaki Chicken recipe, gather the following ingredients to create a dish that is not only flavorful but also visually appealing:
- Chicken Thighs: 5 lbs of boneless, skinless chicken thighs that are juicy and tender when cooked.
- Soy Sauce: A rich, umami-filled ingredient that enhances the flavor of the chicken.
- Brown Sugar: Adds a lovely caramel sweetness that balances perfectly with the saltiness of the soy sauce.
- Honey: Just 2 tablespoons of this golden liquid for an extra layer of sweetness and depth.
- Rice Vinegar: Adds a touch of acidity that brightens the dish, making it more balanced and refreshing.
- Garlic: 2 cloves minced, lending an aromatic, savory aspect that melds beautifully with the sauce.
- Ginger: 1 teaspoon grated, for a warm, spicy kick that enhances the overall flavor.
- Cornstarch: Used to thicken the sauce.
- Water: To create the cornstarch slurry.
- Green Onions: For garnish, sliced, adding a pop of color and a mild onion flavor.
Cooking Time & Tips For Teriyaki Chicken
When it comes to preparing this delicious Teriyaki Chicken, you have the option between quick and slow preparation. The quick method involves baking it in the oven, while the slow method typically requires marinating the chicken for a few hours to enhance the flavor.
For the best results, here are some practical tips:
- Marinate for More Flavor: If you have time, marinating the chicken in the teriyaki sauce for an hour or overnight can deepen the flavors.
- Check Temperature: Ensure the chicken is cooked to an internal temperature of 165°F (75°C) for safety.
- Customize Sauce Thickness: If you prefer a thicker sauce, simply add more cornstarch to the slurry.
Step-by-Step Directions
Let’s dive into making this craving-worthy Teriyaki Chicken together!
Step 1: Preheat the oven
Start by preheating your oven to 400°F (200°C). This ensures your chicken gets that perfect golden-brown finish during baking.
Step 2: Make the Teriyaki Sauce
In a large mixing bowl, combine the soy sauce, brown sugar, honey, rice vinegar, minced garlic, and grated ginger. Whisk these ingredients together until everything is well blended and the sugar has dissolved into a smooth sauce.
Step 3: Prepare the Chicken
Place the chicken thighs into a large baking dish. The thighs should be snug but not overcrowded to allow for even cooking.
Step 4: Coat the Chicken
Pour the flavorful teriyaki sauce mixture over the chicken thighs, ensuring they are coated evenly. This will help infuse the chicken with those delightful flavors.
Step 5: Bake with Covering
Cover the baking dish tightly with aluminum foil to trap the moisture inside. Place it in the preheated oven and bake for 30 minutes.
Step 6: Uncover and Bake Again
After 30 minutes, carefully remove the foil and continue baking for an additional 15-20 minutes. You’ll notice the sauce starting to thicken and the chicken getting beautifully caramelized.
Step 7: Thicken the Sauce
While the chicken is baking, prepare a cornstarch slurry. In a small bowl, mix together the cornstarch and water until smooth. This will be used to thicken your sauce.
Step 8: Add the Slurry
After the chicken has baked uncovered, pour the cornstarch slurry into the baking dish with the chicken and sauce. Stir gently to combine, ensuring the sauce clings to the chicken.
Step 9: Final Bake
Return the dish to the oven and bake for another 5-10 minutes until the sauce has thickened to your satisfaction. The aroma wafting through your kitchen will be simply irresistible!
Step 10: Let it Rest
Once the chicken is done, remove it from the oven and let it rest for a few minutes. This allows the juices to redistribute, ensuring a juicy bite every time.
Step 11: Garnish and Serve
Garnish the teriyaki chicken with sliced green onions before serving. This adds a fresh, vibrant touch that complements the dish beautifully. Serve your teriyaki chicken hot over rice or alongside your favorite side dishes. Enjoy!
Serving Suggestions & Occasions
Teriyaki Chicken is an incredibly versatile dish ideal for various occasions. It’s a fantastic option for family dinners, gatherings with friends, or even meal prepping for the week ahead. Serve it over steamed jasmine rice for a classic combination, or pair it with stir-fried vegetables for a healthier option. You could also offer it with noodles, a fresh salad, or in a wrap with crunchy veggies. The dish shines brightly on occasions such as game nights, birthday celebrations, or cozy family get-togethers.
Common Mistakes For Teriyaki Chicken
Creating the perfect Teriyaki Chicken can be straightforward, but here are some common pitfalls to avoid:
- Using Low-Quality Soy Sauce: Opt for a good-quality soy sauce to enhance the overall flavor.
- Overbaking the Chicken: Keep an eye on the cooking time to prevent the chicken from drying out. Use a meat thermometer for the best results.
- Not Mixing the Sauce Properly: Ensure that the sugar is completely dissolved in the sauce to avoid gritty textures.
- Skipping the Cornstarch Slurry: Not using a thickening agent can result in a runny sauce. Adjust the cornstarch to suit your thickness preference.
- Being Heavy-Handed with Seasoning: Avoid adding too much salt as soy sauce is already salty.
Healthier Alternatives & Variations
For those looking to make Teriyaki Chicken a little healthier, consider these alternatives:
- Use Chicken Breast: Swap chicken thighs for skinless, boneless chicken breasts.
- Reduce Sugar: Cut down on the brown sugar or honey for a lighter sauce.
- Add Vegetables: Incorporate broccoli, bell peppers, or snap peas for added nutrition and color.
- Gluten-Free Option: Use a gluten-free soy sauce substitute if you have gluten sensitivities.
- Vegan Version: Substitute chicken with tofu or tempeh, marinating it in the sauce for the same delicious flavor.
FAQs
-
Can I use frozen chicken?
Yes, you can use frozen chicken thighs. Just ensure to increase the baking time to accommodate their frozen state. -
What can I serve with Teriyaki Chicken?
It pairs well with rice, noodles, steamed vegetables, or even in a salad. -
Can I marinate the chicken overnight?
Absolutely! Marinating enhances the flavor even more. -
How do I store leftovers?
Store any leftovers in an airtight container in the refrigerator for up to 3 days. -
Can I freeze Teriyaki Chicken?
Yes, you can freeze it for up to 3 months. Thaw in the refrigerator before reheating. -
Is Teriyaki Chicken spicy?
No, it’s generally not spicy unless you choose to add hot peppers or spicy sauce.
Conclusion
Teriyaki Chicken is not only an easy and comforting dish but is also a marvelous way of bringing the family together for a meal filled with warmth and joy. With its mouthwatering flavors and simple preparation, you’ll find yourself wanting to make it again and again! So why wait? Gather your ingredients and start cooking up this delectable Teriyaki Chicken recipe today!
Teriyaki Chicken
Ingredients
Main Ingredients
- 5 lbs boneless, skinless chicken thighs juicy and tender when cooked
- 0.5 cup soy sauce rich, umami-filled ingredient
- 0.5 cup brown sugar adds caramel sweetness
- 2 tbsp honey extra layer of sweetness
- 0.25 cup rice vinegar adds a touch of acidity
- 2 cloves garlic minced
- 1 tsp ginger grated
- 2 tbsp cornstarch used to thicken the sauce
- 0.5 cup water to create the cornstarch slurry
- 2 tbsp green onions sliced for garnish
Instructions
Preparation
- Preheat your oven to 400°F (200°C).
- In a large mixing bowl, combine the soy sauce, brown sugar, honey, rice vinegar, minced garlic, and grated ginger. Whisk until well blended.
- Place the chicken thighs into a large baking dish.
- Pour the teriyaki sauce over the chicken thighs, ensuring they are coated evenly.
Cooking
- Cover the baking dish tightly with aluminum foil and bake for 30 minutes.
- After 30 minutes, carefully remove the foil and continue baking for an additional 15-20 minutes.
- Prepare a cornstarch slurry by mixing cornstarch and water until smooth.
- After baking uncovered, pour the cornstarch slurry into the baking dish and stir gently to combine.
- Return the dish to the oven and bake for another 5-10 minutes until the sauce has thickened.
- Once done, let the chicken rest for a few minutes before serving.
- Garnish with sliced green onions before serving.