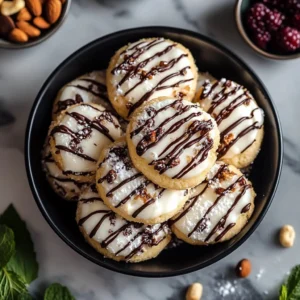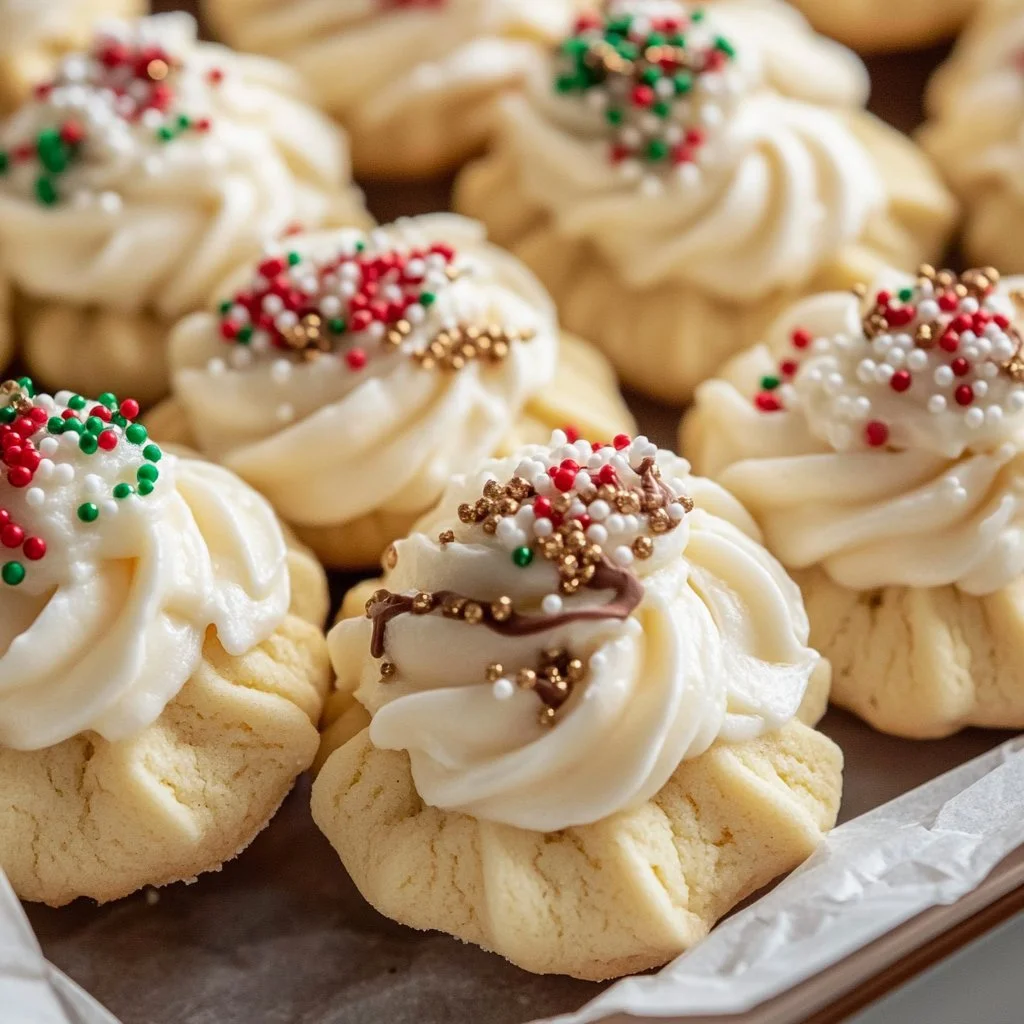
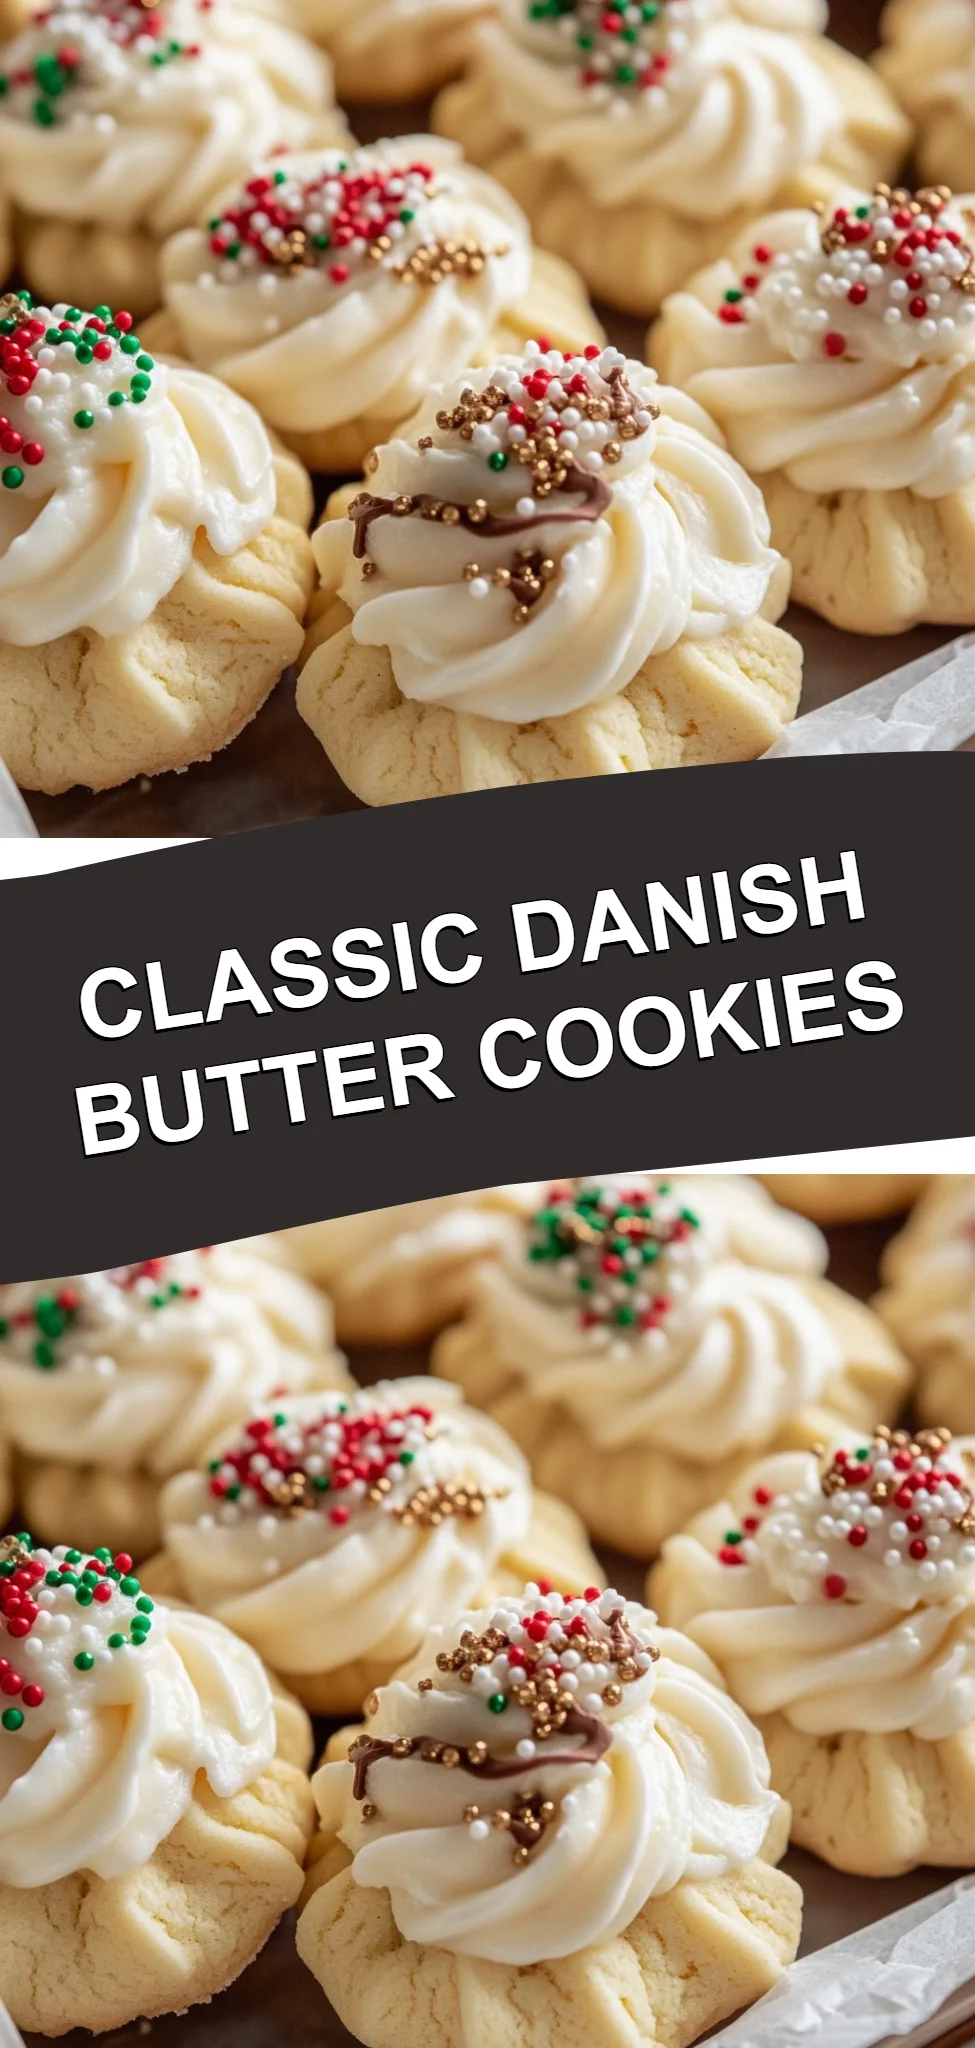
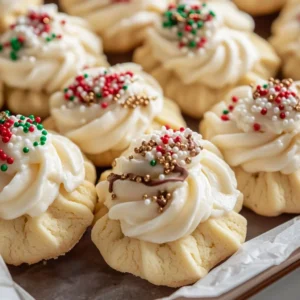
Classic Danish Cookies are a delightful treat that everyone will cherish. With their buttery texture and charmingly sweet taste, these cookies evoke memories of cozy afternoons spent in the kitchen. Perfect for sharing with family or for relaxing with a cup of tea, this recipe offers an easy, quick, and comforting baking experience. Follow this step-by-step guide to create your very own batch of Classic Danish Cookies, which will fill your home with irresistible aromas and warm your heart.
Ingredients
To craft your Classic Danish Cookies, gather the following ingredients:
- 255 g unsalted butter, softened (about 1 cup plus 2 tablespoons), providing a creamy base that melts in your mouth
- 30 g powdered sugar (about 1/4 cup), adding a light sweetness that perfectly complements the richness of the butter
- 1 teaspoon vanilla extract, delivering a warm, aromatic scent that enhances the overall flavor
- 160 g all-purpose flour (about 1 1/4 cups), creating a tender, delicate crumb
- 8 g cornstarch (about 1 tablespoon), contributing to the cookies’ melt-in-your-mouth texture
- 1 to 2 teaspoons heavy cream, as needed, to adjust the dough’s consistency for smooth piping
- 170 g dark chocolate chips or chocolate almond bark, melted (about 1 cup), for a rich, decadent dip
- 170 g white chocolate chips or white almond bark, melted (about 1 cup), offering a sweet contrast to the dark chocolate
- Colorful sprinkles for decorating, making each cookie visually stunning and festive
Cooking Time & Tips For Classic Danish Cookies
Preparing your Classic Danish Cookies can be quick or slow, depending on how much time you dedicate to chilling the dough. Quick preparation means diving right in, mixing your ingredients, and enjoying freshly baked cookies within an hour. However, allowing the dough to chill will result in more structured cookies with pronounced shapes.
For the best outcome, keep these practical tips in mind:
- Ensure your butter is softened, as this allows for easier mixing and a creamier texture.
- Don’t skip the chilling step; this helps maintain the shape of your cookies while baking.
- Be cautious when melting chocolate; overheating can cause it to seize. Use short bursts in the microwave, stirring in between.
Step-by-Step Directions
-
Begin by lining a baking sheet with parchment paper to prevent sticking and ensure easy cleanup.
-
In a medium bowl, beat the softened butter for 2 to 3 minutes until it’s pale and creamy. The texture should be light and fluffy, resembling whipped cream.
-
Add the powdered sugar to the bowl and continue mixing for another 2 minutes. The combination should be airy and well-blended.
-
Incorporate the vanilla extract, ensuring it’s thoroughly combined for a beautifully fragrant cookie base.
-
Sift the flour and cornstarch into the butter mixture, mixing gently until just incorporated. Take care not to overmix, aiming for a soft, manageable dough.
-
Transfer the dough into a piping bag fitted with a large open star tip. Check the consistency; if too stiff, add 1 to 2 teaspoons of heavy cream until it is smooth enough to pipe.
-
Pipe your desired shapes onto the prepared baking sheet. Get creative! Swirls, stars, or even simple rounds will work wonderfully.
-
Once piped, pop the sheet into the fridge for 30 minutes. This step is crucial for maintaining the shapes when baking.
-
While the cookies chill, preheat your oven to 175 degrees Celsius (350 degrees Fahrenheit).
-
Bake for 8 to 10 minutes until the edges are just lightly golden. Avoid browning the tops to preserve the classic pale Danish cookie appearance. Once done, transfer them to a wire rack to cool completely.
-
If you’re dipping the cookies in chocolate, melt your chocolate or almond bark in a microwave-safe bowl. Heat in 20-second intervals, stirring each time, until melted and smooth. Be careful to avoid burning.
-
Dip each cooled cookie halfway into the melted chocolate, then place it on a parchment-lined tray. Before the chocolate sets, sprinkle colorful decorations for a delightful finish.
-
Allow the chocolate to firm up completely before serving to ensure a perfect, satisfying bite.
Serving Suggestions & Occasions
Classic Danish Cookies are incredibly versatile. Serve them at family gatherings, afternoon tea parties, or festive celebrations. Pair them with a warm cup of coffee or tea for an indulgent treat. They also make excellent gifts when packed in charming containers or jars, adding a personal touch that will surely be appreciated.
Common Mistakes For Classic Danish Cookies
-
Overmixing the Dough: This can lead to tough cookies instead of the tender texture you want. Mix just until combined!
-
Skipping the Chilling Step: Not refrigerating the piped dough can result in cookies that spread too much in the oven, losing their shape.
-
Piping With Too Small a Tip: Use a large open star tip for best results, as a smaller tip may clog and alter the cookie’s texture.
-
Overbaking: Keep an eye on the cookies as they bake. Remove them just when the edges start to brown for that perfect soft bite.
-
Not Using Parchment Paper: Baking directly on the sheet can lead to sticking and a messy cleanup. Always line your baking sheet!
Healthier Alternatives & Variations
For healthier alternatives, consider the following substitutions:
- Use coconut oil instead of butter for a dairy-free version.
- Swap all-purpose flour with whole wheat flour for added fiber.
- Opt for dark chocolate with a higher cocoa content for a richer taste and health benefits.
You can also experiment with flavors by adding almond extract or mixing in nuts like pecans or walnuts for extra crunch.
FAQs
-
Can I freeze the dough?
Yes, you can freeze the piped dough before baking. Just ensure they’re spaced out and stored in a suitable container. -
How long do these cookies last?
When stored in an airtight container, they can last up to a week at room temperature. -
Can I use other types of chocolate?
Absolutely! Feel free to mix and match with different chocolates for creative flavor combinations. -
What if my dough is too soft after chilling?
If your dough isn’t pipeable, you can re-chill it for a bit longer or mix in a small amount of flour at a time until it reaches the right consistency. -
Do I have to use sprinkles?
Sprinkles are optional, but they do add a colorful touch! You can also leave the cookies plain or drizzle additional melted chocolate on top. -
Are there any nut-free alternatives for the chocolate?
Yes, you can use carob chips or yogurt-covered alternatives if you need a nut-free option.
Conclusion
Classic Danish Cookies are waiting to bring joy and sweetness to your kitchen. The art of baking these lovely treats is as rewarding as the first bite—a soft, buttery cookie dipped in rich, melted chocolate. Their simplicity paired with the option for vibrant decorations makes them perfect for any occasion. So why wait? Gather your ingredients today and embark on this delightful baking journey!
Classic Danish Cookies
Ingredients
Main Ingredients
- 255 g unsalted butter, softened (about 1 cup plus 2 tablespoons) Providing a creamy base that melts in your mouth
- 30 g powdered sugar (about 1/4 cup) Adding a light sweetness that perfectly complements the richness of the butter
- 1 teaspoon vanilla extract Delivering a warm, aromatic scent that enhances the overall flavor
- 160 g all-purpose flour (about 1 1/4 cups) Creating a tender, delicate crumb
- 8 g cornstarch (about 1 tablespoon) Contributing to the cookies' melt-in-your-mouth texture
- 1-2 teaspoons heavy cream As needed, to adjust the dough's consistency for smooth piping
For Dipping and Decoration
- 170 g dark chocolate chips or chocolate almond bark, melted (about 1 cup) For a rich, decadent dip
- 170 g white chocolate chips or white almond bark, melted (about 1 cup) Offering a sweet contrast to the dark chocolate
- Colorful sprinkles For decorating, making each cookie visually stunning and festive
Instructions
Preparation
- Line a baking sheet with parchment paper to prevent sticking.
- In a medium bowl, beat the softened butter for 2 to 3 minutes until pale and creamy.
- Add the powdered sugar and mix for another 2 minutes until airy and well-blended.
- Incorporate the vanilla extract thoroughly.
- Sift the flour and cornstarch into the butter mixture, mixing gently until just incorporated.
- Transfer the dough into a piping bag fitted with a large open star tip. Add cream as needed for smoothness.
- Pipe desired shapes onto the prepared baking sheet.
- Refrigerate the piped cookies for 30 minutes.
Baking
- Preheat your oven to 175 degrees Celsius (350 degrees Fahrenheit).
- Bake for 8 to 10 minutes until the edges are lightly golden.
- Transfer baked cookies to a wire rack to cool completely.
Dipping
- Melt chocolate or almond bark in a microwave-safe bowl in 20-second intervals, stirring each time.
- Dip each cooled cookie halfway into the melted chocolate.
- Sprinkle colorful decorations before the chocolate sets.