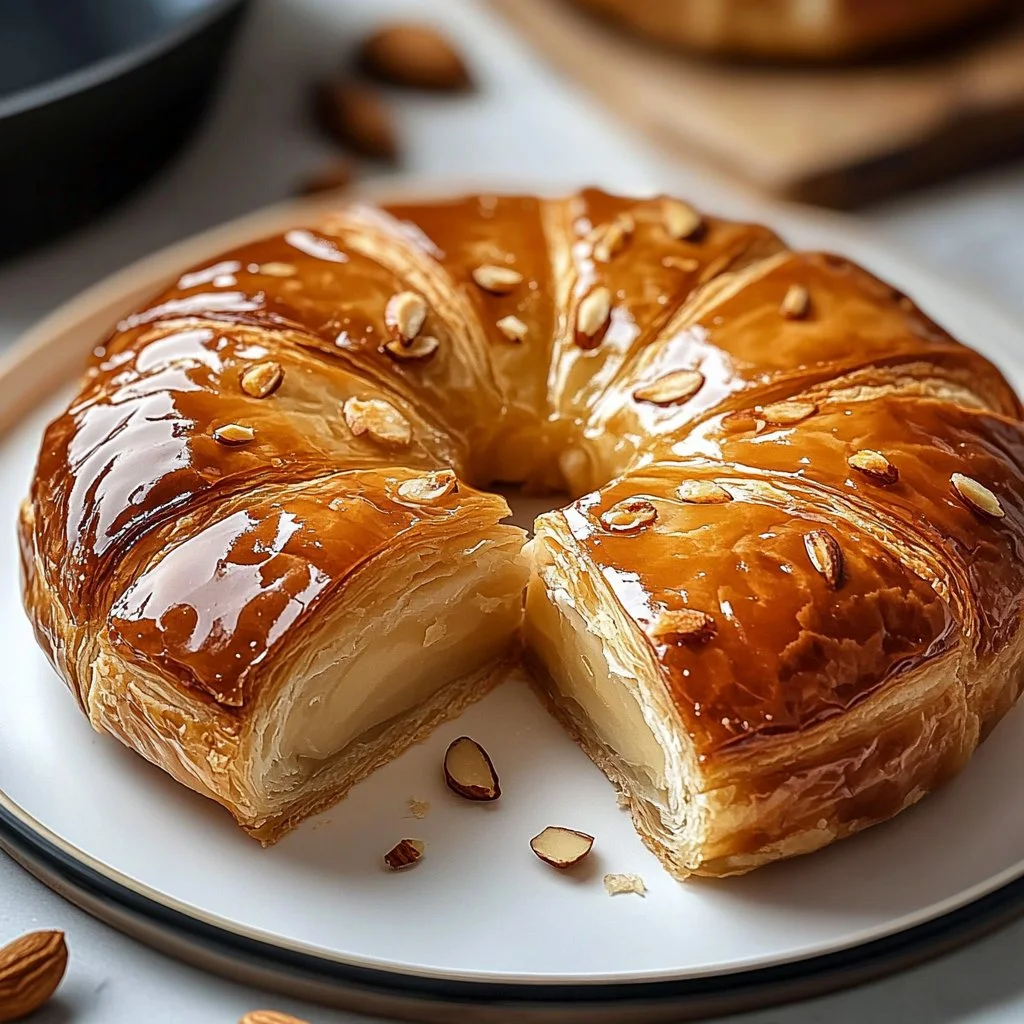
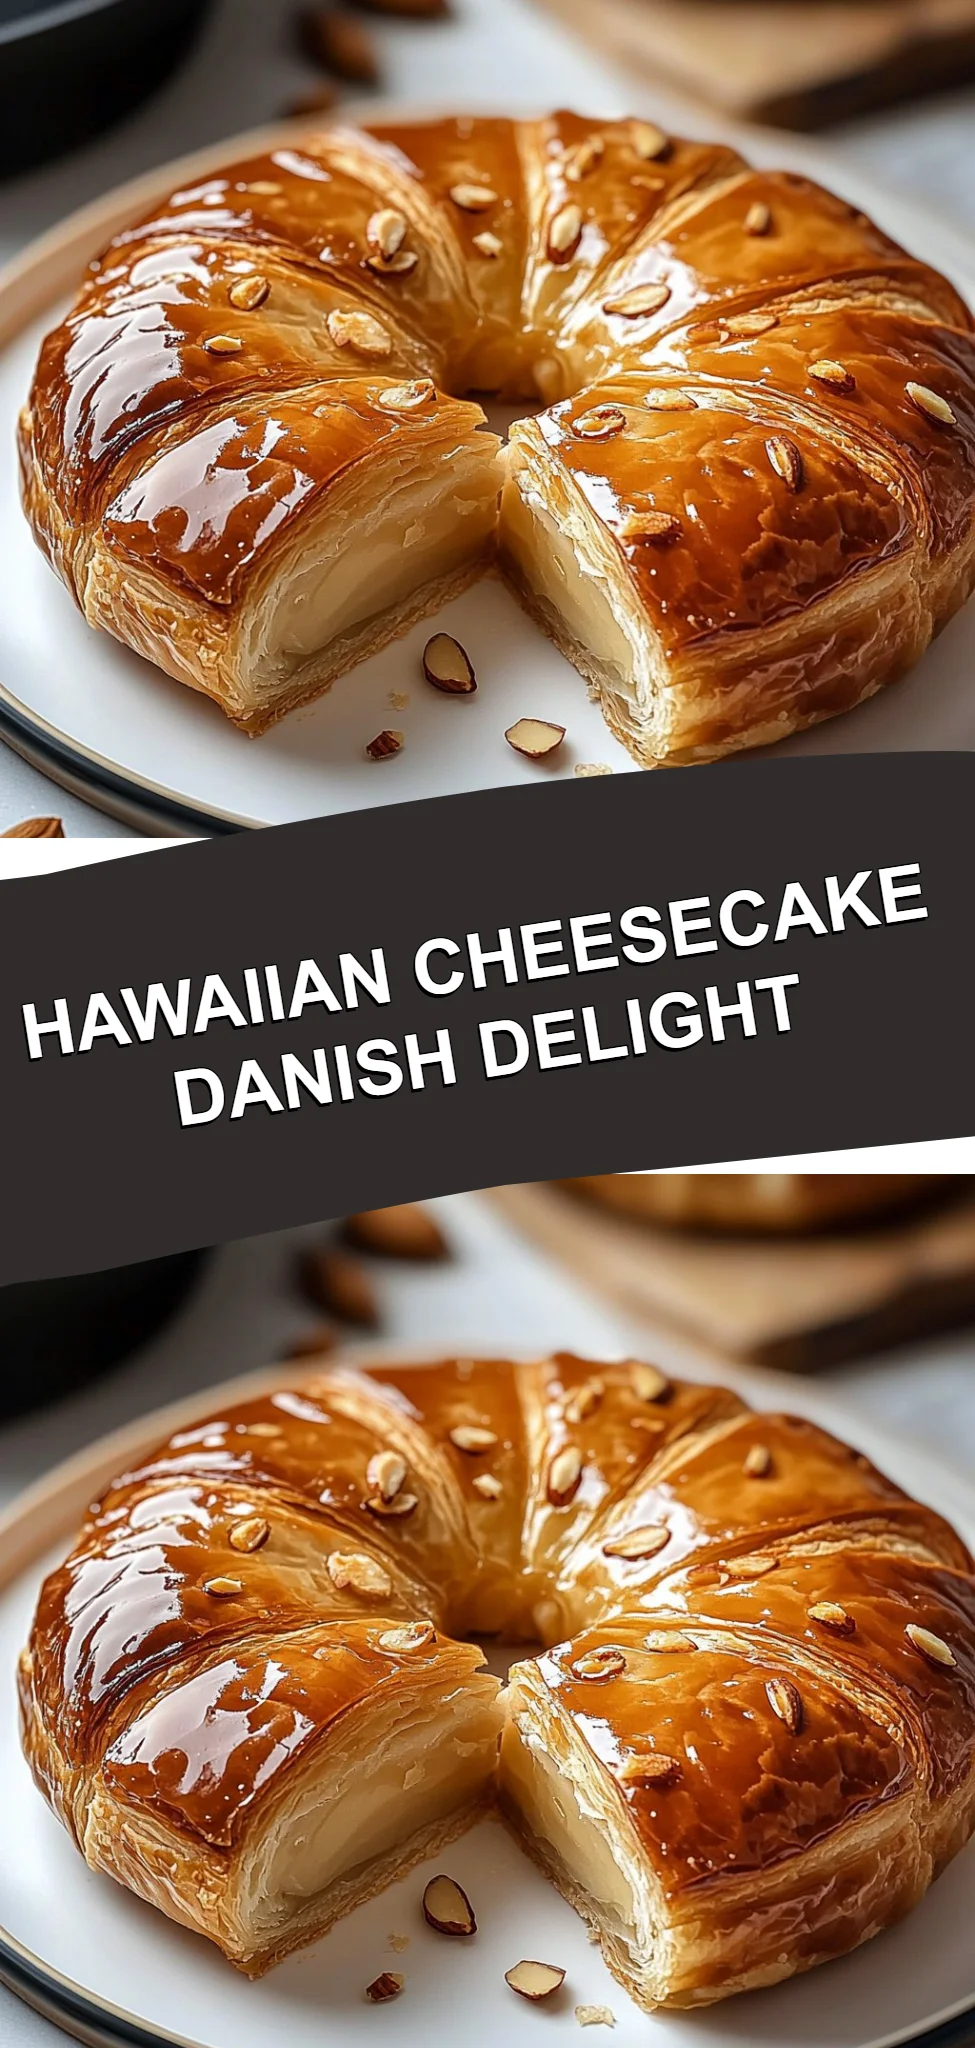
King’s Hawaiian Cheesecake Danish is a delightful fusion of textures and flavors that is sure to delight your taste buds. Imagine soft, sweet bread that embraces a creamy cheesecake filling, all baked to golden perfection. This recipe shines for its simplicity and comforting taste, making it an excellent choice for breakfast, a snack, or even as a dessert. The step-by-step preparation is easy, which means you can involve your family and create lasting memories in the kitchen. What’s more, the combination of the rich cream cheese and the unique sweetness of King’s Hawaiian bread makes this dish nostalgic and special for anyone who tries it.
Ingredients
To create your King’s Hawaiian Cheesecake Danish, gather the following ingredients:
- 2 cups King’s Hawaiian bread dough: This tender, sweet bread will serve as the perfect, fluffy base for your Danish.
- 1/2 cup cream cheese: Creamy and rich, the cream cheese adds that indulgent cheesecake flavor.
- 1/4 cup sugar: Just the right amount of sweetness to balance the cream cheese.
- 1 teaspoon vanilla extract: Aromatic and inviting, the vanilla will elevate all the flavors beautifully.
- 1 tablespoon lemon juice: A hint of tartness that brightens the filling.
- 1/4 teaspoon salt: This enhances the flavors, making them pop.
- 1/2 cup heavy cream: Adds a luxurious richness to your filling.
- 1 large egg: This binds everything together and gives the filling structure.
- 2 tablespoons butter: For brushing over the dough and adding richness.
- 1 tablespoon milk: This will help create a smooth texture when combined with the flour.
- 1 tablespoon all-purpose flour: Thickens the filling and helps it maintain its shape.
Cooking Time & Tips For King’s Hawaiian Cheesecake Danish
When it comes to preparing this delightful dish, you have the option for both quick and slow preparation. The quick method involves using pre-made King’s Hawaiian bread dough, which simplifies the process and cuts down on time. However, if you’re up for a bit of an adventure, you can make your bread dough from scratch—this may take longer, but the satisfaction of fresh bread is absolutely worth it.
Tips for Success:
- Use room temperature ingredients: Bringing your cream cheese, egg, and heavy cream to room temperature can help create a smoother filling.
- Don’t overfill: When spooning the cream cheese mixture into the dough, be sure to avoid overfilling, as this can cause spills when baking.
- Watch the baking time: Every oven is different, so keep an eye on your Danish as they bake, looking for that beautiful golden color.
Step-by-Step Directions
- Preheat your oven to 350°F (175°C).
- Lightly grease a baking sheet with butter or cooking spray to ensure easy removal later.
- Roll out the King’s Hawaiian bread dough on a clean surface to about a 1/4-inch thickness, ensuring it’s easy to shape.
- Using a rolling pin, gently shape the dough into a rectangle that fits perfectly on your prepared baking sheet—a little love makes all the difference!
- Cut the dough into smaller squares, approximately 4-6 inches per side.
- Carefully transfer the dough squares onto the baking sheet while leaving a little space between them for even baking.
- In a medium mixing bowl, combine the cream cheese, sugar, vanilla extract, lemon juice, and salt. Blend these ingredients together until smooth and creamy—this mixture should remind you of a decadent cheesecake filling.
- Gradually add the heavy cream while continuing to mix until the filling is well-combined and creamy.
- Add the egg to the mixture, beating until fully incorporated for that perfect texture.
- In a small bowl, whisk together the flour and milk until smooth, and then stir it into the cream cheese mixture, ensuring no lumps remain.
- Melt the butter in a small saucepan over low heat and brush it evenly over the dough squares on the baking sheet.
- Spoon a generous amount of the luscious cream cheese filling into the center of each dough square, letting the creamy goodness shine.
- Carefully fold the corners of each dough square over the filling, creating little pockets or tart shapes—a great way to keep all that deliciousness inside!
- Once all the squares are filled and shaped, bake them in the preheated oven for about 18-22 minutes, or until they turn a lovely golden brown.
- While the Danish are baking, prepare a small bowl with some extra melted butter to brush on later.
- Once the Danish are done baking, remove them from the oven and brush the tops with the melted butter for a glossy finish.
- Let the Danish cool for about 5-10 minutes before serving—this way, they hold their shape.
- Enjoy your King’s Hawaiian Cheesecake Danish while still warm for the best flavor experience!
Serving Suggestions & Occasions
Your King’s Hawaiian Cheesecake Danish pairs beautifully with various occasions. Enjoy these sweet treats for breakfast with a hot cup of coffee or tea, or serve them at brunch gatherings to impress your guests. They also make a wonderful afternoon snack for the family or a delightful dessert to share after dinner. Adding a scoop of vanilla ice cream or fresh fruit can elevate the dish to a whole new level, making it even more enticing!
Common Mistakes For King’s Hawaiian Cheesecake Danish
- Overmixing the Filling: While you want a creamy texture, overmixing can introduce unwanted air into the filling, making it less dense.
- Not Maintaining the Right Thickness: The dough should be rolled to about 1/4 inch; if it’s too thick, it might not cook through properly.
- Ignoring Cooling Time: Allow the Danish to cool adequately; cutting them while they are still hot can lead to messy fillings spilling out.
Healthier Alternatives & Variations
If you’re looking for healthier alternatives, consider using low-fat cream cheese and substituting some of the sugar with a natural sweetener like honey or maple syrup. For a gluten-free version, you can use gluten-free bread dough to keep the flavor intact while accommodating dietary requirements. You might also experiment by adding fresh fruits like blueberries or strawberries to the cream cheese filling for a fruity twist that enhances the flavor profile.
FAQs
-
Can I make the dough from scratch?
Yes, you can absolutely make your own dough if you prefer, though it will take longer. -
Can I prepare these in advance?
Yes, you can prepare the filling and store it separately. Just assemble before baking for the freshest results. -
What can I use instead of heavy cream?
You can try using half-and-half or a dairy-free alternative to keep the creaminess intact. -
How should I store leftovers?
Keep any leftovers in an airtight container in the refrigerator for up to three days. Reheat in the oven for the best texture. -
Can I freeze these Danish?
Yes, they freeze well. Wrap them individually and place them in a freezer-safe container. -
What if I don’t have lemon juice?
If lemon juice isn’t available, you can use a bit of apple cider vinegar as a substitute for the same tanginess.
Conclusion
The King’s Hawaiian Cheesecake Danish is not just a recipe—it’s an experience waiting to happen in your kitchen. With its fluffy dough and creamy filling, this dish is a celebration of flavors and memories. Whether you’re looking to impress family at brunch or simply treat yourself to something special, these Danish are sure to become a go-to favorite in your home. Don’t wait any longer—gather your ingredients, follow the steps, and enjoy the wonderful moments this delicious dish will bring!
King’s Hawaiian Cheesecake Danish
Ingredients
For the dough
- 2 cups King’s Hawaiian bread dough Tender, sweet bread for base
- 2 tablespoons butter For brushing over the dough
For the filling
- 1/2 cup cream cheese Rich and creamy for cheesecake flavor
- 1/4 cup sugar Sweetness to balance the filling
- 1 teaspoon vanilla extract Enhances overall flavor
- 1 tablespoon lemon juice Brings brightness to the filling
- 1/4 teaspoon salt Enhances flavors
- 1/2 cup heavy cream Adds richness
- 1 large egg Binds the filling together
- 1 tablespoon milk For smooth texture
- 1 tablespoon all-purpose flour Thickens the filling
Instructions
Preparation
- Preheat your oven to 350°F (175°C).
- Lightly grease a baking sheet with butter or cooking spray.
- Roll out the King’s Hawaiian bread dough on a clean surface to about a 1/4-inch thickness.
- Shape the dough into a rectangle that fits on the prepared baking sheet.
- Cut the dough into smaller squares, approximately 4-6 inches per side.
- Transfer the dough squares onto the baking sheet, leaving space between them.
Making the Filling
- In a medium mixing bowl, combine cream cheese, sugar, vanilla extract, lemon juice, and salt; blend until smooth.
- Gradually add heavy cream while mixing until creamy.
- Add egg and beat until fully incorporated.
- In a small bowl, whisk together flour and milk until smooth, then stir it into the cream cheese mixture.
Assembly and Baking
- Melt butter over low heat and brush it on the dough squares.
- Spoon cream cheese filling into each dough square.
- Fold the corners of each square over the filling.
- Bake for 18-22 minutes or until golden brown.
- Brush baked Danish with melted butter for a glossy finish.
- Let cool for 5-10 minutes before serving.