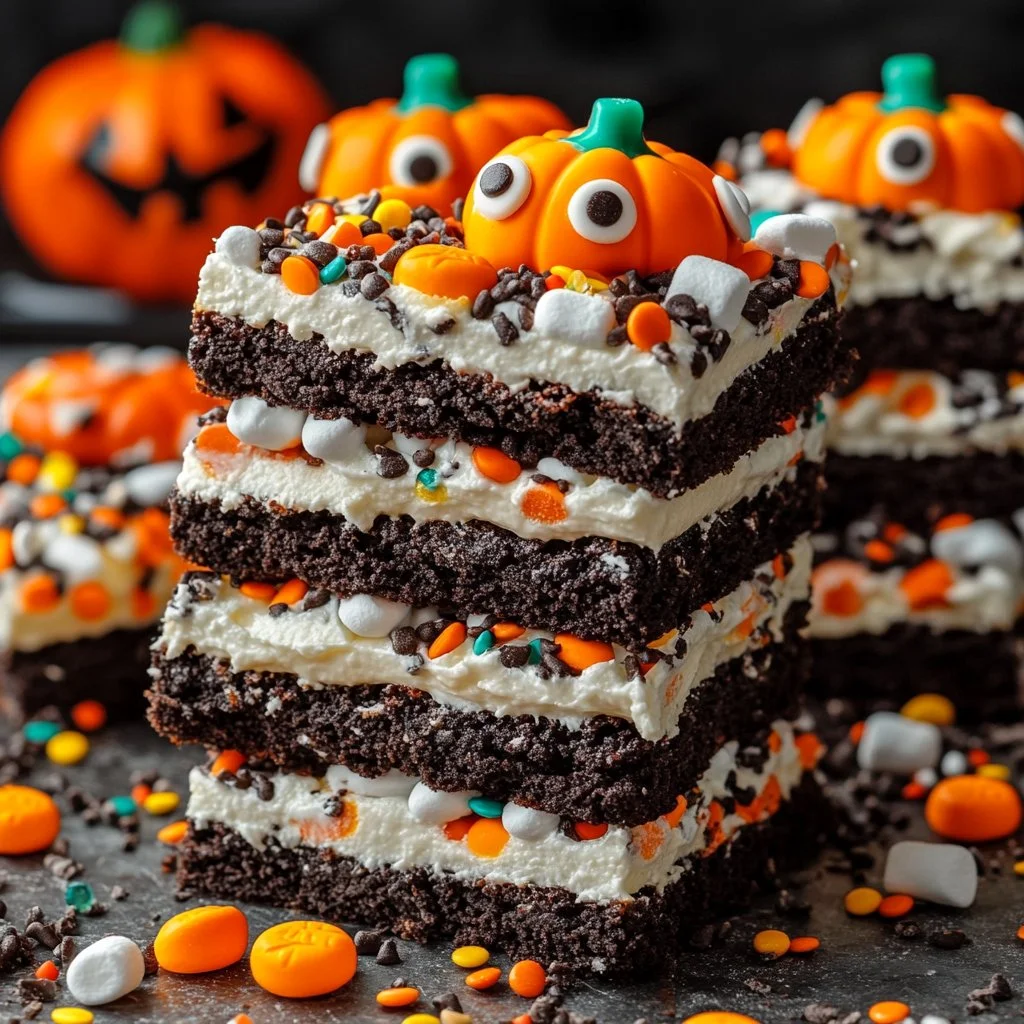
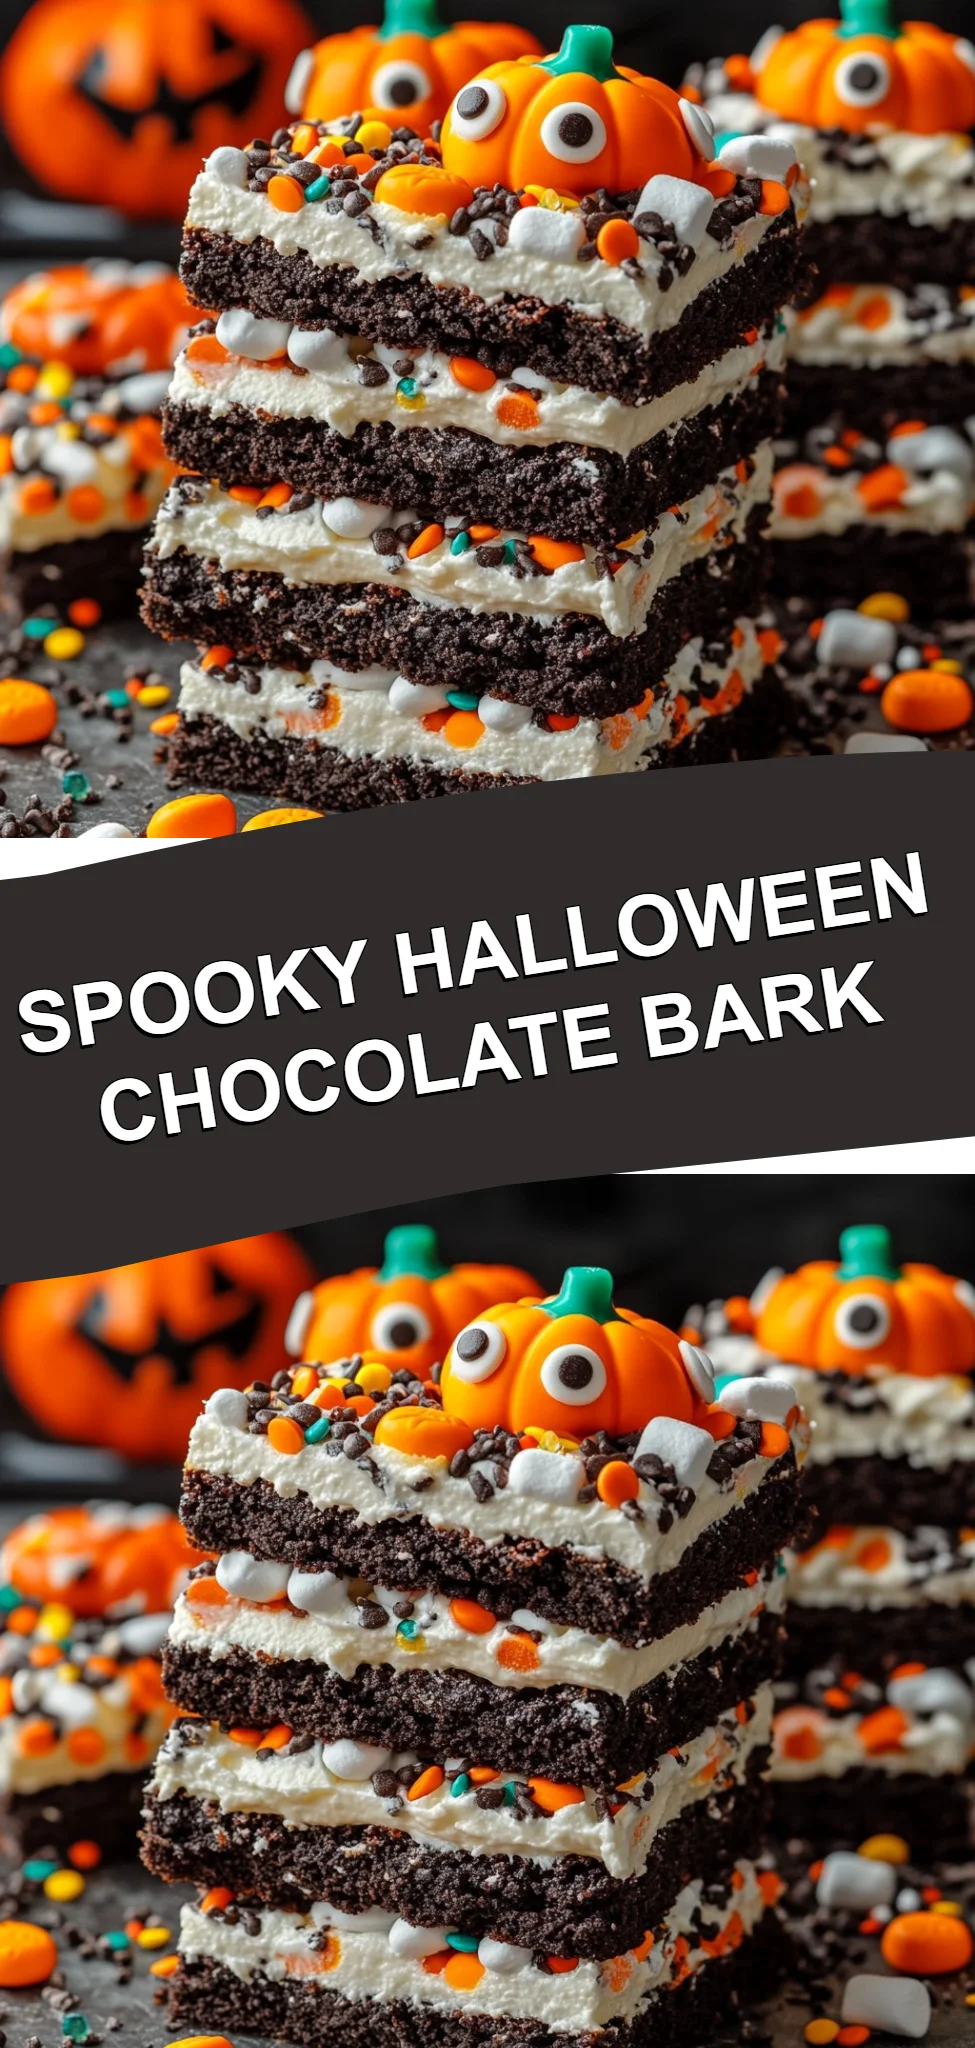
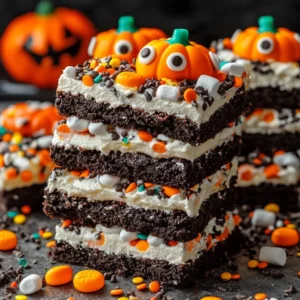
Halloween Chocolate Bark is not just any sweet treat; it’s a playful, festive creation that captures the spirit of Halloween in every bite. This delightful recipe is perfect for those looking to add a touch of magic and nostalgia to their celebrations. Picture crunchy orange cream-filled Oreos enveloped in rich, creamy white chocolate, combined with colorful candies and fluffy marshmallows. Not only is this bark easy to make and visually stunning, but it also brings families together in the kitchen, creating lasting memories. In this guide, we’ll take you through a step-by-step process to create this charming dessert that’s sure to delight both kids and adults alike.
Ingredients
To create this enchanting Halloween Chocolate Bark, you’ll need the following ingredients that are sure to excite your senses:
- 30 orange cream-filled Oreos: These sandwich cookies boast a creamy center with a delightful orange flavor, making them perfect for the spooky season.
- 2 bags (10 oz each) of white chocolate melting wafers: Silky, smooth, and sweet, these wafers will serve as the delectable base for your bark.
- 12 pumpkin marshmallows: Soft and fluffy, these marshmallows add a seasonal twist that elevates the treat.
- 1/4 cup M&M’s: Colorful and crunchy, M&M’s offer a wonderful pop of sweetness and can be in Halloween colors for added festivity.
- 1/4 cup candy corn: Chewy and sweet, candy corn is a seasonal favorite that completes the Halloween theme.
- 1/4 cup sprinkles: Vibrant and fun, sprinkles add a playful touch that makes each piece of bark visually appealing.
- Candy eyes: These whimsical additions create an amusing look for your bark, bringing it to life.
Cooking Time & Tips for Halloween Chocolate Bark
When it comes to preparing Halloween Chocolate Bark, you can opt for a quick or slow preparation method, depending on your schedule. A quick preparation allows you to whip up this treat in about 30 minutes, perfect for last-minute gatherings. Slow preparation might involve cooling and setting time, taking a total of about an hour or more to let the bark firm up completely.
To ensure the success of your bark, here are some practical tips:
- Use Good Quality Chocolate: Quality chocolate melting wafers will create a smoother and more delicious result.
- Stir Frequently: Be attentive while melting chocolate; stirring often prevents overheating and ensures a silky texture.
- Don’t Rush the Cooling Process: Letting the bark cool completely will ensure it hardens properly, making it easier to cut into pieces later.
Step-by-Step Directions
Now, let’s get down to the fun part: making your Halloween Chocolate Bark! Follow these engaging directions as if we’re cooking together in the kitchen.
-
Start by lining a large sheet pan with parchment paper. This simple step creates a non-stick surface for the bark and makes cleanup a breeze.
-
Place the white chocolate melting wafers in a microwave-safe bowl. Microwaving at 50% power for 30 seconds at a time, stir well after each interval, until the chocolate is completely melted and smooth with no lumps. The aroma of melting chocolate will fill your kitchen, enticing anyone nearby!
-
Spoon a small amount of the melted chocolate onto the back of each Oreo and then place them side by side on the parchment-lined tray. This helps hold them in place while you work, creating a solid base for your bark.
-
While the chocolate is still gooey, press the pumpkin marshmallows, M&M’s, and candy corn into the chocolate around and atop the Oreos. This is where the fun happens; fill in any remaining gaps with candy eyes and sprinkles to make your bark festive and unique.
-
Allow the chocolate to cool completely at room temperature until it has hardened. This may take about 30-45 minutes. Once set, cut the bark into small pieces for serving.
Serving Suggestions & Occasions
Halloween Chocolate Bark is perfect for a variety of occasions. Serve it at Halloween parties, school events, or as a fun after-school snack. This bark can be beautifully packaged in decorative bags or boxes, making it an attractive Halloween treat for friends, neighbors, or as party favors. Its vibrant colors and playful ingredients also make it an excellent centerpiece for a dessert table during the spooky season.
Common Mistakes for Halloween Chocolate Bark
While making Halloween Chocolate Bark is a straightforward process, some common pitfalls can be easily avoided:
-
Overheating Chocolate: Melting chocolate too quickly can scorch it, rendering it grainy rather than smooth.
-
Skipping the Cooling Step: If you don’t allow the chocolate to cool completely, the bark may break or not hold its shape.
-
Not Spreading Ingredients Evenly: Ensure that candies are spread out evenly to maintain that festive look and ensure every piece is a delight.
Healthier Alternatives & Variations
Looking to tweak the recipe a bit? Here are some healthier alternatives and variations for your Halloween Chocolate Bark:
-
Dark Chocolate: Swap out the white chocolate melting wafers for dark chocolate for a richer flavor with less sugar.
-
Dried Fruits and Nuts: Incorporate dried fruits like cranberries or nuts for a more wholesome bark that still satisfies your sweet tooth.
-
Sugar-Free Options: Look for sugar-free chocolate melting wafers to accommodate dietary restrictions without sacrificing taste.
FAQs
-
Can I use regular chocolate instead of melting wafers?
Yes, but ensure it’s in tempered form so it sets properly. Melting wafers make it easier to achieve a smooth finish. -
How long does the bark last?
When stored in an airtight container at room temperature, it can last for about a week. -
Can I ship the bark as a gift?
Absolutely! Just ensure it’s properly packaged to avoid melting in transit. -
Can I freeze Halloween Chocolate Bark?
Yes, you can freeze it! Just layer it with parchment paper and store it in an airtight container. -
What other candies can I use?
Feel free to get creative! Use your favorite candies, like gummy worms or chocolate-covered pretzels. -
Is it okay to add more ingredients?
Certainly! Experiment with different toppings to make it your own.
Conclusion
Now that you have this delightful Halloween Chocolate Bark recipe at your fingertips, it’s time to gather your ingredients and get cooking! With its easy preparation and eye-catching appeal, this treat is sure to bring joy and excitement to your Halloween festivities. Don’t wait—try it out today, and watch as your family and friends rave about your delicious creation!
Halloween Chocolate Bark
Ingredients
Bark Ingredients
- 30 pieces orange cream-filled Oreos These sandwich cookies boast a creamy center with a delightful orange flavor.
- 20 oz white chocolate melting wafers Two bags of 10 oz each; they will serve as the base for your bark.
- 12 pieces pumpkin marshmallows Soft and fluffy marshmallows add a seasonal twist.
- 1/4 cup M&M's Can be in Halloween colors for added festivity.
- 1/4 cup candy corn A chewy and sweet Halloween favorite.
- 1/4 cup sprinkles Adds a playful visual touch.
- as needed pieces candy eyes Whimsical additions that make the bark festive.
Instructions
Preparation
- Line a large sheet pan with parchment paper.
- Place the white chocolate melting wafers in a microwave-safe bowl and microwave at 50% power for 30 seconds at a time, stirring well after each interval until melted and smooth.
- Spoon a small amount of the melted chocolate onto the back of each Oreo and place them side by side on the parchment-lined tray.
- While the chocolate is still gooey, press the pumpkin marshmallows, M&M's, and candy corn into the chocolate around and atop the Oreos.
- Add candy eyes and sprinkles to fill in any gaps.
- Allow the chocolate to cool completely at room temperature until it has hardened, about 30-45 minutes.
- Once set, cut the bark into small pieces for serving.